I realize I could have added a little more detail in my last post about how to create a painted wall for a roombox, but I’d gotten pretty far through the post before I realized I should write about it, so I saved it for later.
Anyway, here are the details.
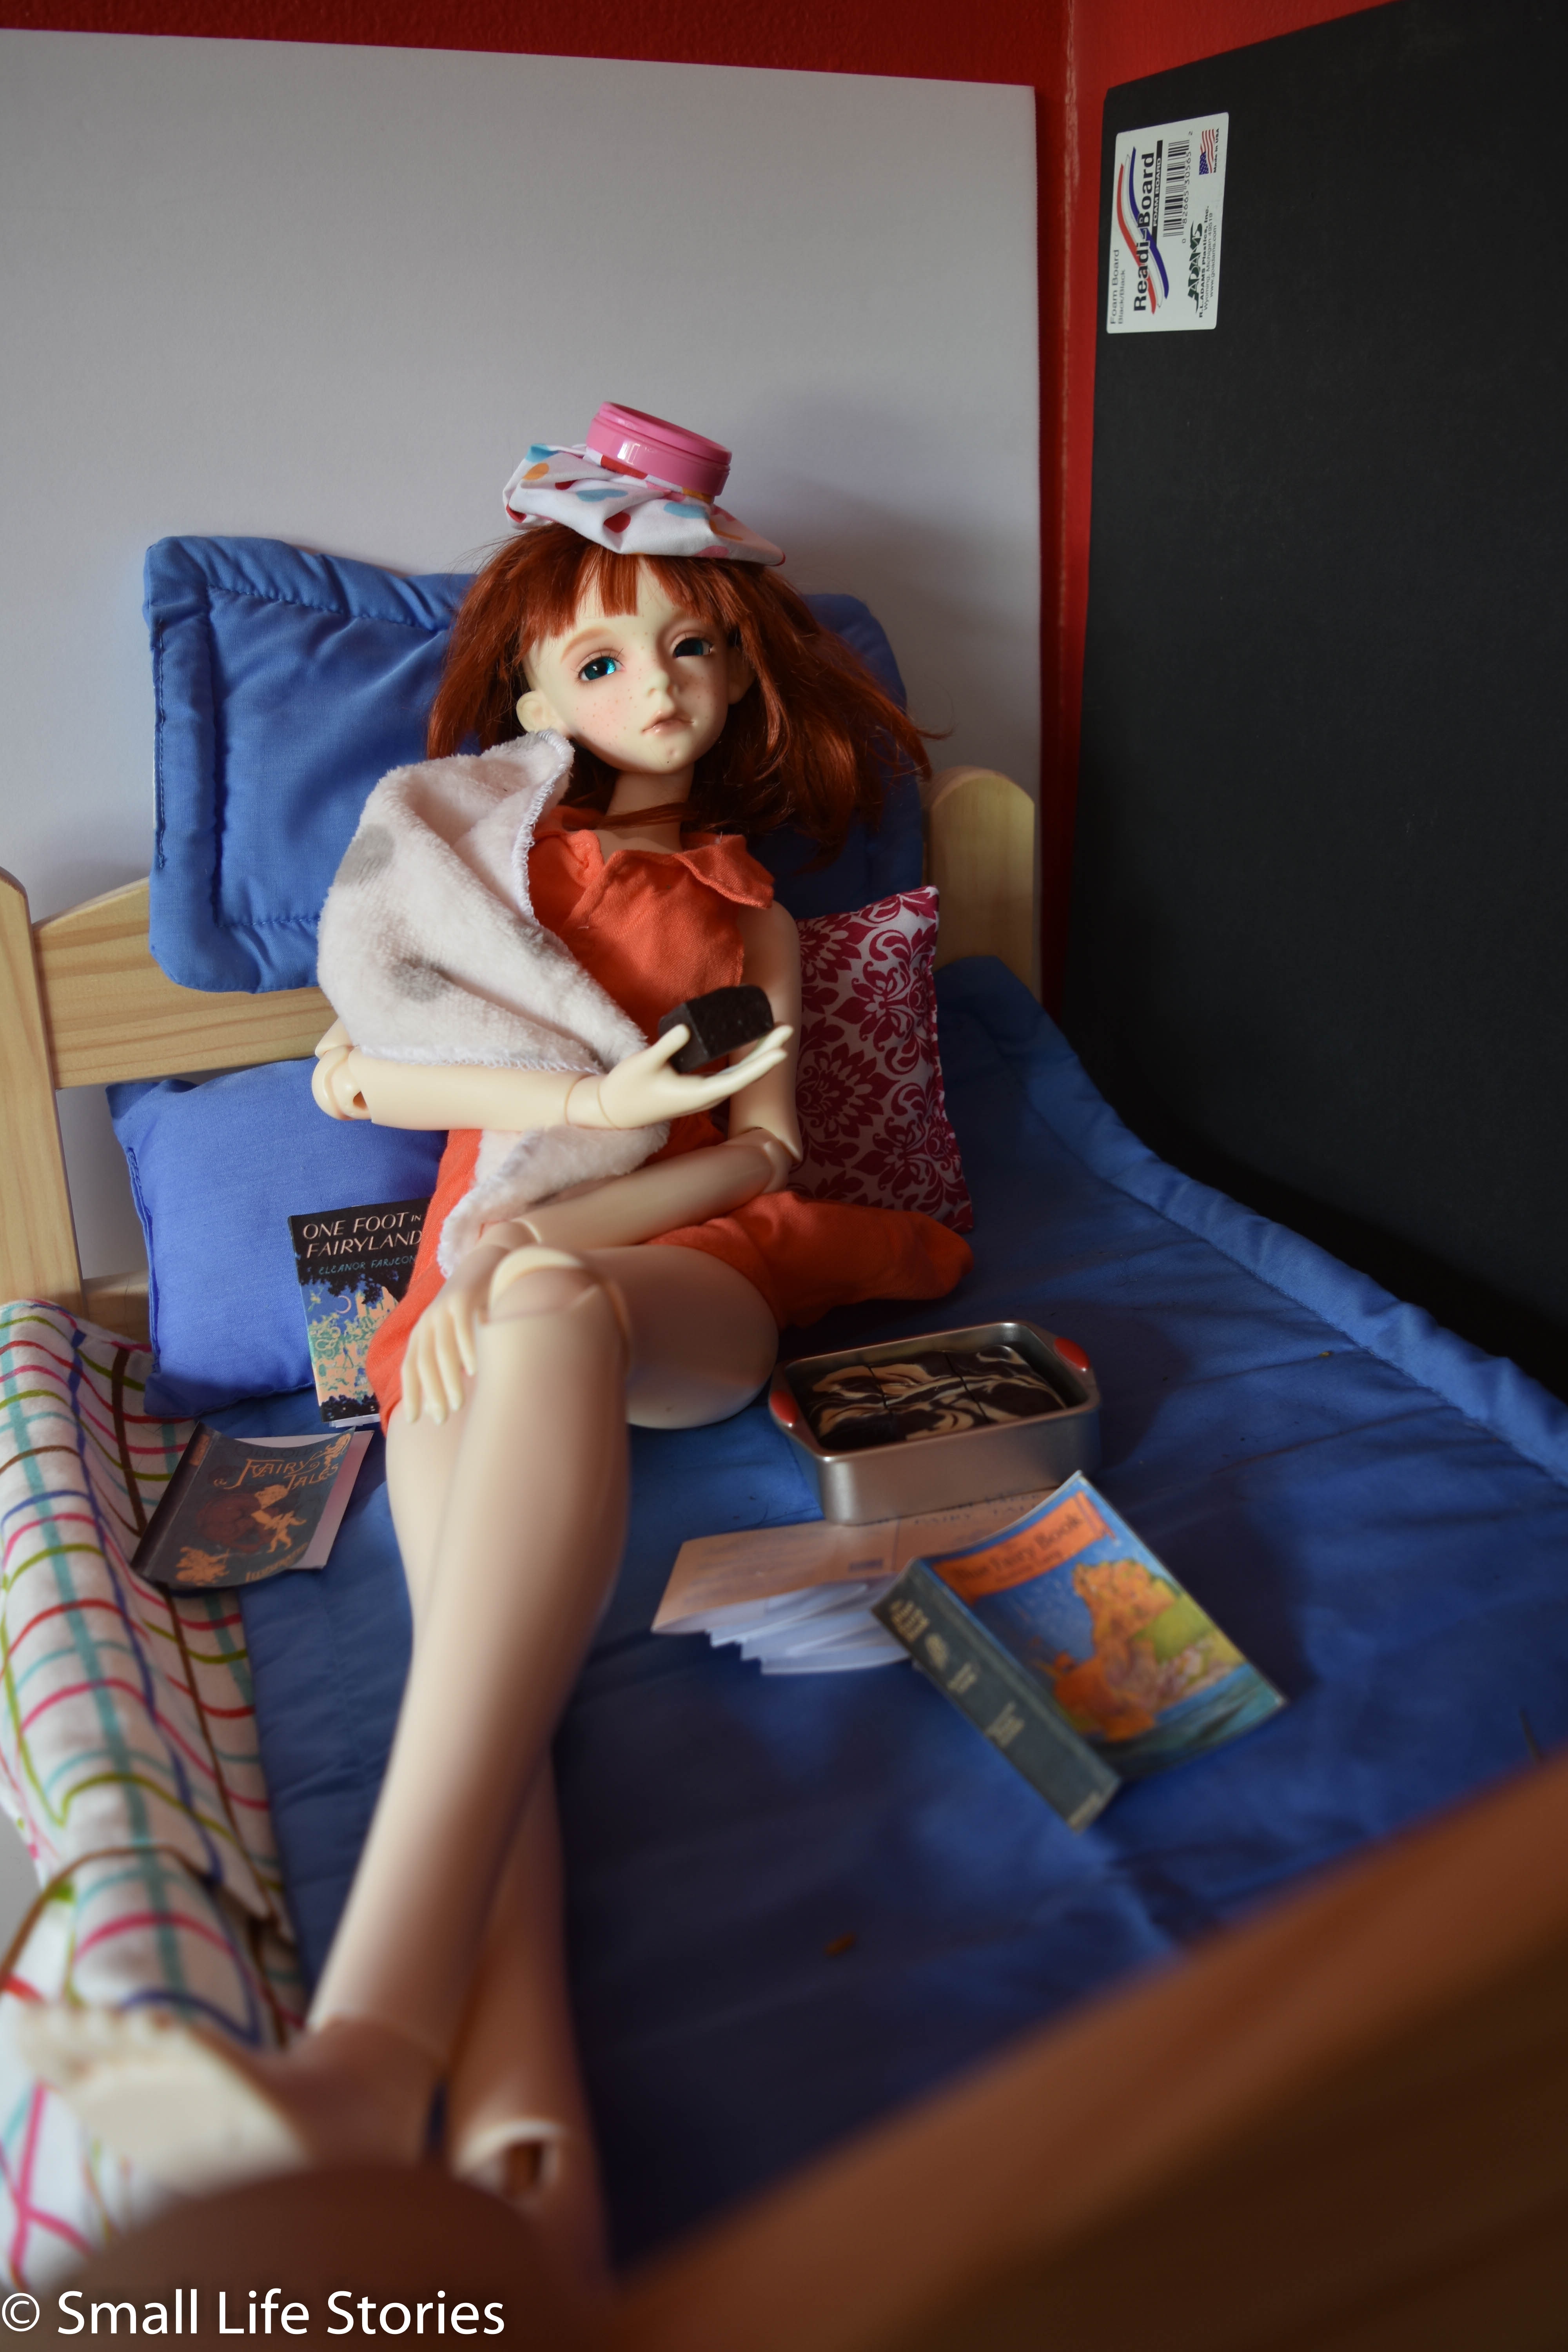
First, start with any wall behind the doll. In this case, I have one white and one black piece of foamboard, but I could also have used the red painted wall that’s behind the foamboard. The reason I had to back out of using this method the first time I tried is that I didn’t realize I’d be using the foamboard in the image, so I had them set up in a way that would never work, like this:
Shots on my way to photoshop painting a background, for the blog post at https://mydolladventure.wordpress.com/2018/06/27/faking-a-painted-wall-for-a-roombox-using-photoshop-to-paint-a-wall/
So, this is never going to work. You have to do so much photoshop just to make the foamboard wall look OK that you’ll end up getting rid of all of the detail that you need, like the shadows and the corner of the wall.
Instead, set it up correctly and take a shot (forgive the terrible lighting. I’m using the room lights at night for this example, and they just cast a horrible light in these photos.)
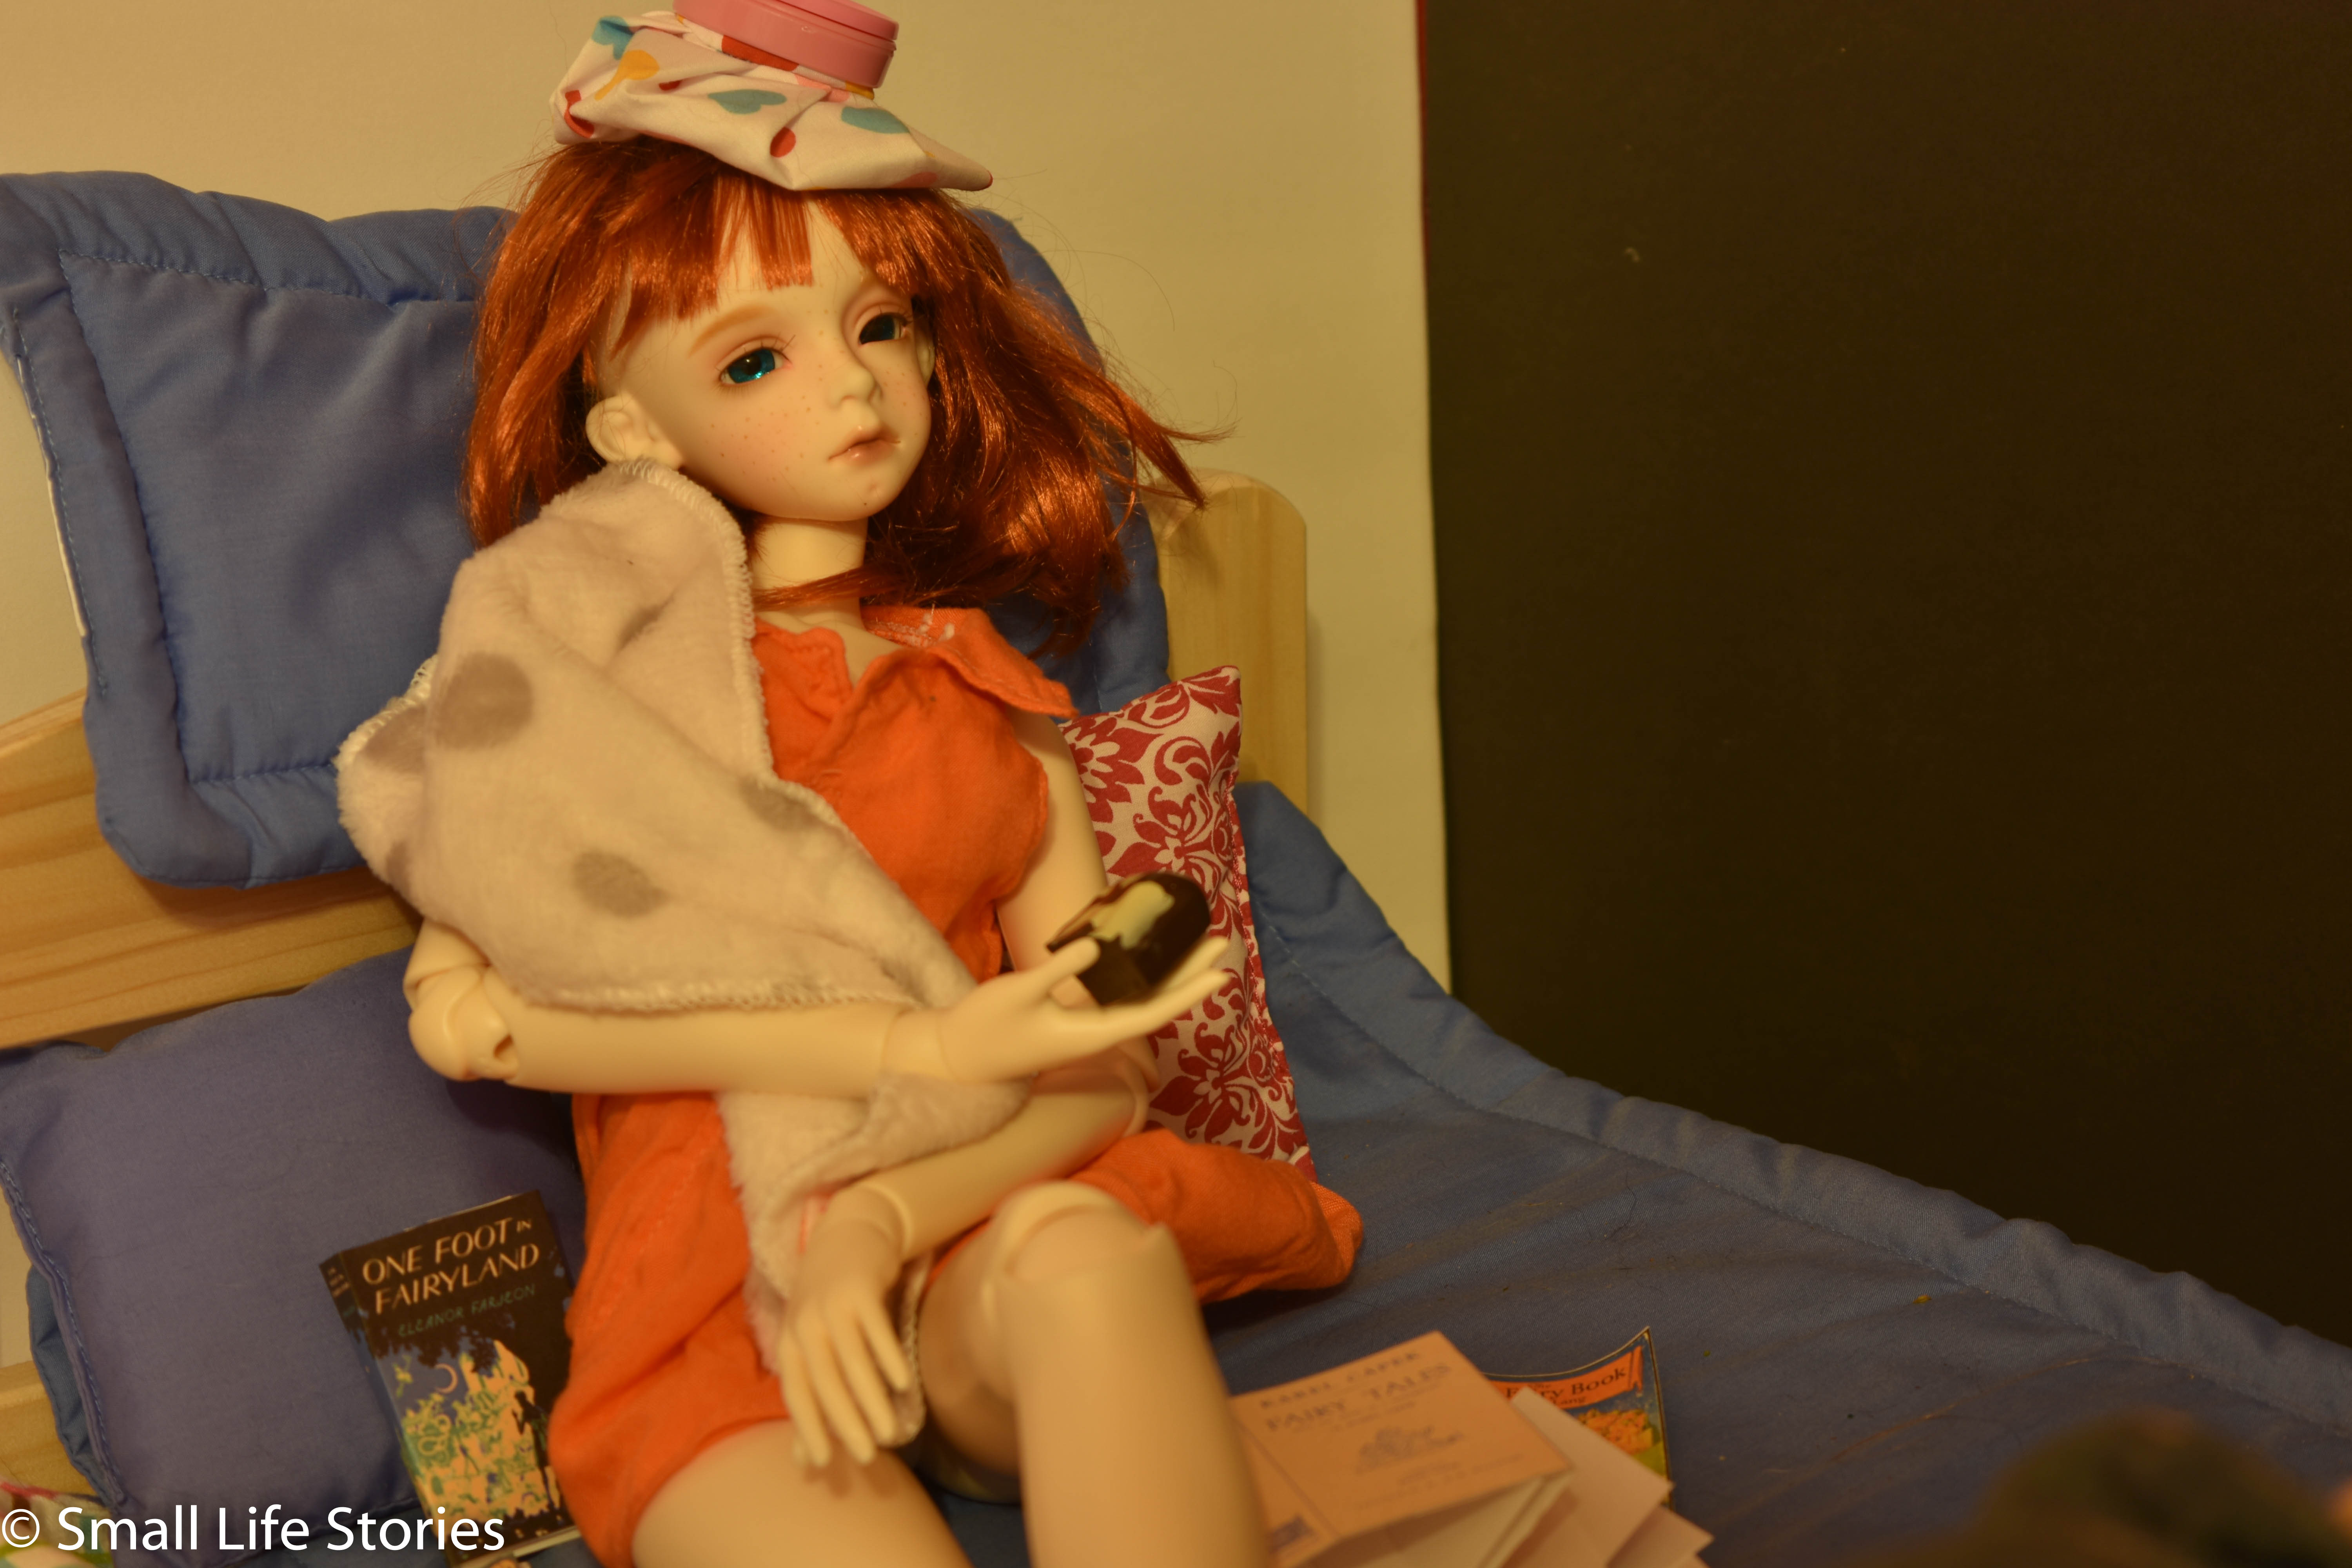
Shots on my way to photoshop painting a background, for the blog post at https://mydolladventure.wordpress.com/2018/06/27/faking-a-painted-wall-for-a-roombox-using-photoshop-to-paint-a-wall/
Bring it into Photoshop and select all of the wall. I always use Select and Mask, because I like the added controls, but any selection method will work. When you’re done, cut and paste the selection into a new layer (or use New Layer with Layer Mask if you’re using Select and Mask). Then, duplicate the new layer with the selected wall. You’ll use that a bit later. For now, hide that and just work on the first copy. Before you start painting, it looks like this:

Choose a wall color, and use the fill bucket to fill. When I paint, I always select the piece I’m painting. That way, you can never go outside the lines, since Photoshop will keep your work constrained to the selected area. Here’s how it looks once I do the first fill.

Now, choose a different color and a different tool and go lightly over the first painting. I often use one of the spray-paint tools and a lighter shade to give a little interest.
You can stop here, if you want, or keep adding colors and detail. Let’s do a spot check now and see if we want to do more.
Make all of your layers visible (you should have three – the original layer, with everything but the wall on it; the painted wall, and a copy of the unpainted wall. You want them in the following order: top: unpainted wall, middle: painted wall, bottom: everything but the wall. Fiddle with the opacity in the top layer until you get the details you want from the original wall, mixed with the painted version. For me, it now looks like this:

Now, it’s really up to you. For me, the wall is too present – I’d play around with adjusting the brightness and doing a bit of a blur (but just on this layer – leave the rest as they are.) You can also experiment with one of the filter effects to make it more painterly, or you can use a blending brush to make it less splattered.
Here’s what I did – just a little darkening and some Gaussian blur, and then I did a light white spray paint over the top like this:

It doesn’t look all that different from the real wall I painted, and it would look even better if it had objects on it, like windows and posters, to sort of break up the color. It would also benefit from better lighting, so that the shadows from objects in the room made it look more realistic.
Anyway, if you ever want to change a doll’s room, that’s how you’d do it without ever lifting a paintbrush. It probably takes 15 minutes or less, start to finish. I use the professional version of Photoshop, but you should be able to do something similar with Photoshop elements or other lightweight tool.
June 27, 2018 at 12:56 pm
Great tutorial, thank you for sharing it!